The Only Guide for Procreate Brushes
Wiki Article
Little Known Facts About Procreate Brushes.
Table of ContentsHow Procreate Brushes can Save You Time, Stress, and Money.The 10-Minute Rule for Procreate BrushesTop Guidelines Of Procreate BrushesHow Procreate Brushes can Save You Time, Stress, and Money.Procreate Brushes Things To Know Before You Get ThisProcreate Brushes Fundamentals ExplainedThe Best Strategy To Use For Procreate Brushes
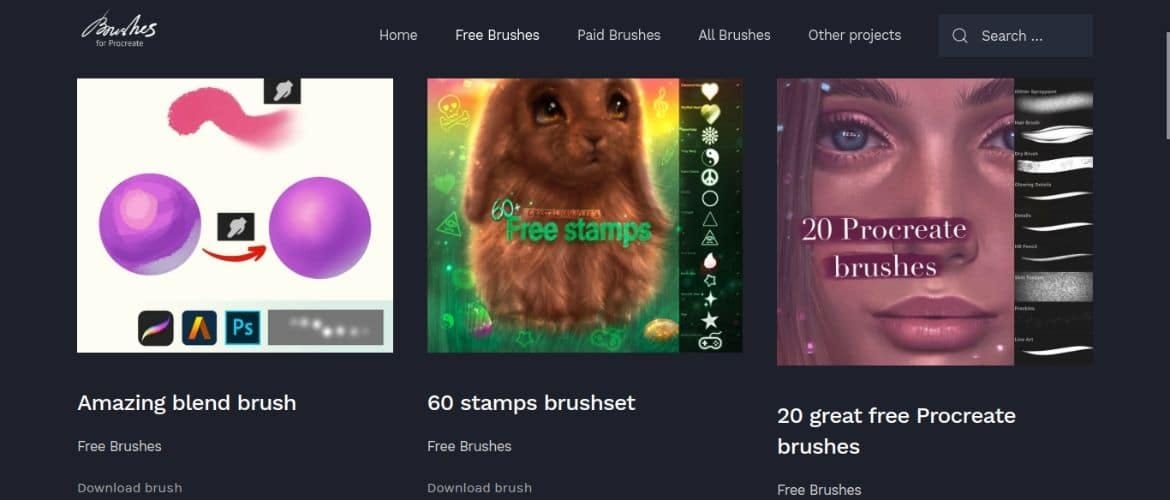
You can add brushes to Procreate by downloading and install. brush documents onto your i, Pad. New Procreate brushes can be downloaded or purchased from a range of internet sites. To download Procreate brushes onto your i, Pad, you'll save them to the Data application and after that "share" it to Procreate. Procreate is among the best illustration as well as sketching apps for i, Pad.One of these functions is the capability to include new brushes. Right here's just how to include brand-new brushes to Procreate. Before you can add brushes, you'll need to find them.
You can likewise look into Creative Market, a website which focuses on add-ons for a wide variety of art apps. None of their brushes are cost-free, yet they're high-grade. Download and install the. brush or. brushset data from Safari, an email, or whichever application they have actually been sent to you in.
Not known Incorrect Statements About Procreate Brushes
If they remain in a. ZIP file, tap the. ZIP documents initially to draw out the brushes. You'll locate your new brushes in the Data application. William Antonelli/Insider Press and hold your finger on a brush data, and after that pick. You'll add the brush to Procreate by "sharing" it.Jingsketch Basic 10 that will function as a great intro to the world of Procreate. It took me years to establish a collection of Procreate brushes that felt natural as well as effortless, and I'm positive that you will certainly discover them as very easy to use as I do. Trying to find even more? These 10 brushes are a part of 50+ brushes from my and.
Pleased Artists "These brushes are remarkable! In all sincerity, I was obtaining so irritated with attracting electronically because I seemed like I couldn't find the best brushes for Procreate, yet these have actually given me motivation again!" "Just wan na state thank you these are the most effective brushes I have actually ever utilized.
The smart Trick of Procreate Brushes That Nobody is Talking About
Procreate is just one of the most prominent drawing apps on the i, Pad right currently. They have a remarkable selection of presets nevertheless the fun is in making your very own Procreate brushes. Procreate offers remarkable control over the settings for their brushes. There are six categorized areas in addition to selecting the Shape as well as Grain.Below, I have a web link to my youtube video that covers this entire procedure where I walk you via each category of setups - procreate brushes.
Every brush within Procreate can be found by accessing the at the top-right navigating bar in the program. Sorts Of Brushes Procreate's brush library residences eighteen default brush types, such as: A collection of pencil, pastel, pastel, and chalk brushes. These are optimal for sketching your extracting as well as adding subtle tips of texture.
Little Known Facts About Procreate Brushes.
These brushes include different tips of realistic texture to any illustration as well as are best utilized after the laying out stage. For those that make use of Procreate for lettering and also calligraphy, this is the brush library to utilize. procreate brushes.Perfect for providing any type of element of your picture an air-brushed, slope radiance. As opposed to the more subtle appearance brushes, these brushes lean on the edge of formed structures. A lot like the Textures brush collection, this collection of brushes is extra additional reading abstract and also formed. A best for lots of Procreate artists, this brush library adds the excellent degree of charcoal appearances to any kind of drawing.
How Procreate Brushes can Save You Time, Stress, and Money.
As soon as you click the, you can select from different brushes within the brush collection simply as you can with the Brush tool. Eliminating Brushes Erasing what has been attracted is merely find out this here a part of the drawing process.How to Readjust Default Procreate Combs By default, the Procreate application features a large choice of pre-made brushes that artists can utilize for numerous applications. In the Brush Library, you'll find charcoal, paint, effects, as well as even water brushes.

The Best Strategy To Use For Procreate Brushes
Duplicate brush. To even more arrange your custom brushes, scroll right to the top of the groups left wing and hit the. You can after that drag-and-drop any personalized brushes right into the new section. Action 2: Edit Stroke Properties and also Taper Once you have actually discovered a brush to personalize, click on the brush sneak peek to open up the.Each area consists go of sliders that can be used to personalize the look of the stroke and its actions. Spacing, Jitter, as well as Loss Off are all residential properties that affect the spacing of the source image utilized to develop the stroke.
Within those residential properties, you'll likewise see the feature. This tool supports your stroke look and is ideal when using Procreate for hand-lettering functions. Stroke residential or commercial properties for. Under the panel is where you'll find the menu. This food selection reveals sliders that impact the look of the taper at the end of the brush stroke.
Things about Procreate Brushes
applies the taper impact to the general brush. The staying sliders personalize the taper amount, size, opacity, pressure, and also tip. Try out these sliders and test out the custom-made settings by drawing within the Drawing Pad. Action 3: Modify Forming Resource Feature Brushes in Procreate start as a solitary shape.The panel consists of sliders to edit the scatter and turning of the brush shape. A greater worth of Scatter produces a textured brush, while a reduced value of Scatter creates a spotted impact.
includes anti-aliasing, uses earlier versions of filtering system, as well as takes away all filtering system. The most effective alternative for a clean brush look is the filtering system. Step 4: Readjust Grain Consequences In Procreate, the brush stroke serves as a strand of single forms. Within the shape holds the grain. Believe of the brush's grain as a paint roller, as the brush is drawn on the canvas, the grain adjustments in direction and also dimension.
Report this wiki page